The Ultimate Guide for Perfect Infusions
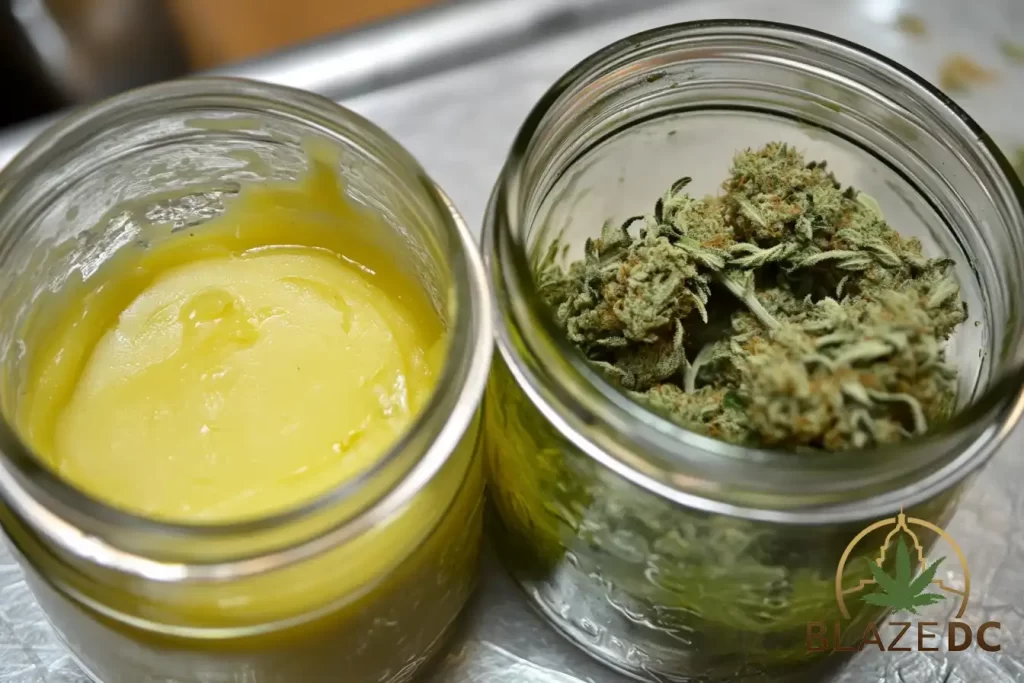
Cannabutter is one of the most versatile and essential ingredients for creating cannabis-infused edibles. From brownies to sauces, it serves as a base for countless recipes that allow you to enjoy the benefits of cannabis without the need to smoke or vape. Making your own cannabutter at home can seem daunting, but with the right techniques, it’s an easy and rewarding process.
In this guide, we’ll walk you through everything you need to know about making cannabutter, including the necessary ingredients, equipment, step-by-step instructions, and tips for controlling potency.
What is Cannabutter and Why It’s a Versatile Base for Edibles?
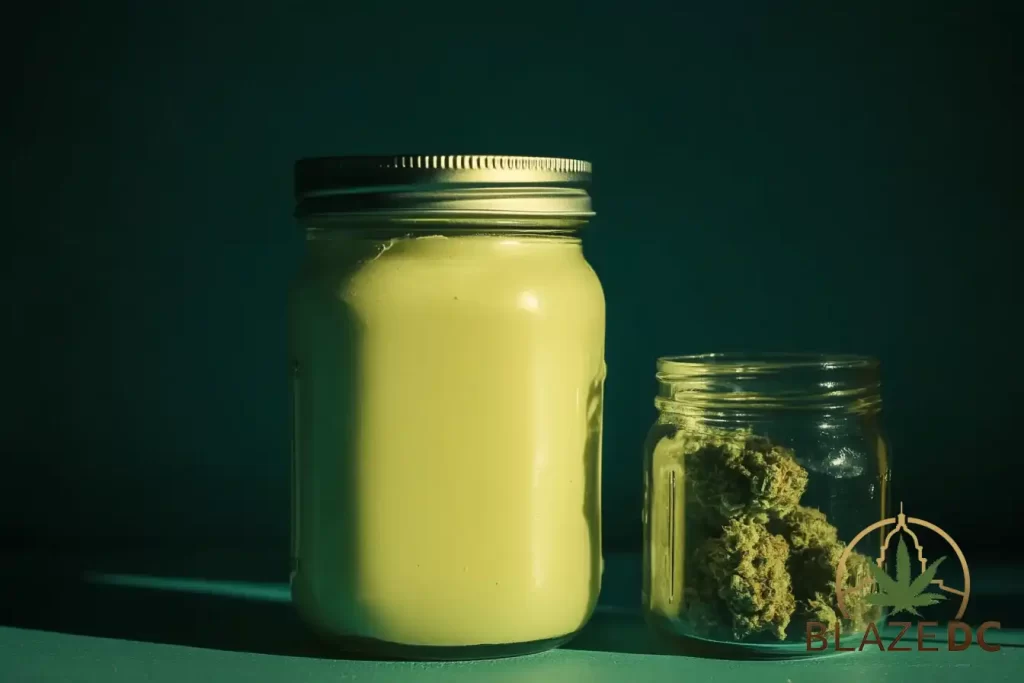
Cannabutter, or cannabis-infused butter, is a fundamental ingredient in many edible recipes due to its ability to bind with cannabinoids like THC and CBD. This fat-based carrier allows for the effective absorption of cannabinoids, making it a perfect medium for delivering the desired effects of cannabis through various culinary creations. Because of its versatility, cannabutter can be used in a wide range of dishes, from baked goods like cookies and cakes to savory recipes like pasta sauces or mashed potatoes.
Ingredients and Equipment Needed for Making Cannabutter
Before starting, make sure you have all the necessary ingredients and equipment ready. Proper preparation will make the process smoother and help you achieve the best results. If you need to get the greens to make your butter, head on over to our online menu to see our selection of flower and shake!
Ingredients
- 1 cup of unsalted butter
- 1 cup of water (to prevent the butter from burning)
- 7-10 grams of decarboxylated cannabis (the amount can vary depending on desired potency)
Equipment
- Medium-sized saucepan
- Wooden spoon or heat-resistant spatula
- Cheesecloth or fine mesh strainer
- Mixing bowl
- Airtight container for storing the finished cannabutter
- Grinder (to break down the cannabis into smaller, more manageable pieces)
Step-by-Step Guide to Making Cannabutter
- Step 1: Melting the Butter and Adding Water
-
- Start by placing 1 cup of unsalted butter and 1 cup of water in a medium-sized saucepan. The water helps to regulate the temperature of the mixture, preventing the butter from burning. Melt the butter over low heat, stirring occasionally until it is fully melted and combined with the water.
- Step 2: Adding Decarboxylated Cannabis
- Once the butter has melted completely, add your decarboxylated cannabis. It’s crucial to use decarboxylated cannabis because the process of decarboxylation activates the THC and CBD in the plant, making it psychoactive. Stir the mixture gently to ensure the cannabis is evenly distributed throughout the butter. Click here for our guide to making homemade edibles.
How to Decarboxylate Cannabis
- Preheat your oven to 220°F (105°C).
- Grind the cannabis flower into a coarse consistency.
- Spread the ground cannabis evenly on a baking sheet lined with parchment paper.
- Bake for 30-40 minutes, stirring every 10 minutes to ensure even heating.
- Once the cannabis is lightly browned and fragrant, remove it from the oven and let it cool.
- Step 3: Simmering on Low Heat
- Simmer the butter and cannabis mixture on low heat (160-180°F or 70-80°C) for 2-3 hours. It’s important to maintain a low temperature to avoid burning off the cannabinoids, which could reduce the potency of your cannabutter. Stir the mixture occasionally to prevent any scorching or sticking at the bottom of the pan.
- Step 4: Straining the Mixture
After simmering for a few hours, remove the saucepan from the heat and let it cool slightly. Place a cheesecloth or fine mesh strainer over a mixing bowl and carefully pour the butter mixture through it. This process removes the plant material, leaving you with a smooth, infused butter. Squeeze the cheesecloth gently to extract as much butter as possible, but avoid applying too much pressure as it may push through unwanted plant particles. - Step 5: Cooling and Storing Cannabutter
Once the butter is strained, transfer it into an airtight container and place it in the refrigerator to cool. As it cools, the butter will solidify, and any excess water will separate. You can discard the water layer once the butter is firm. Properly stored cannabutter can last up to 2-3 weeks in the refrigerator and several months in the freezer.
Tips for Controlling Potency
Controlling the potency of your cannabutter is crucial to ensure a positive experience. Here are a few tips to help you determine the THC/CBD content and dosage of your homemade cannabutter:
- Understand the Strength of Your Cannabis: Know the percentage of THC/CBD in your cannabis flower. For example, if you’re using 10 grams of cannabis with 15% THC, the total THC content is approximately 1,500mg (10,000mg x 0.15). This will help you calculate the approximate dosage per serving.
- Use Less Cannabis for Milder Effects: If you prefer a milder effect, use less cannabis in your infusion. Conversely, use more cannabis to create a stronger butter, but be careful not to overwhelm your recipes with excessive potency.
- Test a Small Amount First: Before incorporating your cannabutter into a recipe, test a small amount to gauge its strength. This will help you adjust the dosage as needed for future batches.
Using Cannabutter in Recipes
Cannabutter is incredibly versatile and can be used in various recipes. Here are a few popular uses:
- Baked Goods: Use cannabutter as a substitute for regular butter in cookies, brownies, or cakes.
- Savory Dishes: Add it to pasta sauces, mashed potatoes, or sautéed vegetables for an extra kick.
- Spreads and Toppings: Spread a small amount on toast, muffins, or pancakes.
Just be mindful of the dosage and start with a small amount, especially when cooking for others who may have a lower tolerance to cannabis.
Storage and Shelf-Life of Cannabutter
Proper storage of cannabutter is essential to maintain its freshness and potency. Follow these tips to ensure your cannabutter stays in good condition:
- Refrigerate for Short-Term Use: Store cannabutter in an airtight container in the refrigerator for up to 2-3 weeks. Make sure it is clearly labeled to prevent accidental consumption by others.
- Freeze for Long-Term Storage: For longer storage, freeze the cannabutter. Divide it into small portions (e.g., tablespoon-sized scoops) and wrap each piece in plastic wrap. Place the wrapped portions in a freezer-safe bag. Cannabutter can be stored in the freezer for up to 6 months without losing its potency.
- Keep Away from Heat and Light: Store cannabutter in a cool, dark place to prevent degradation of cannabinoids and terpenes. This helps preserve the potency and flavor of your infusion.
Conclusion
Making your own cannabutter at home is a rewarding process that gives you complete control over the potency, flavor, and quality of your edibles. With just a few simple steps and some basic equipment, you can create a versatile ingredient that opens the door to endless culinary possibilities. Remember to start with low doses, store your cannabutter properly, and most importantly—enjoy the process of crafting your own cannabis-infused creations.
For more detailed recipes and advanced techniques, explore our Cannabis Cooking Guides. Happy infusing!
More Articles From Blaze DC
Can You Drive High in DC? Washington DC has some of the most flexible cannabis…
Can You Bring Weed to Concerts or Festivals in DC? Washington DC has a vibrant…
Can You Smoke Weed in an Airbnb in DC? Washington DC has some of the…


